Smart homes are no longer limited to tech experts or expensive setups. Today, many devices are built for everyday users who want more control over their living space.
From turning lights on with a phone to checking cameras while away, these systems focus on comfort, safety, and ease of use.
The good news is that you can set most of them up on your own with the right guidance.
This blog post is designed for beginners who want clear, practical help with home automation installation.
It breaks down the process into simple steps, explains the tools and devices you need, and shows how everything connects.
You will learn how to plan your setup, install devices correctly, and test the system so it works the way you expect in daily life.
What is Home Automation?
Home automation refers to the use of smart devices that work together to control tasks inside a home.
These devices can manage lighting, heating, security cameras, locks, and appliances through a phone app or voice control.
Instead of operating each item separately, automation lets everything run from one system.
With home automation installation, devices are connected using Wi-Fi or smart hubs so they can respond to commands and schedules.
For example, lights can turn off at night, or cameras can alert you when motion is detected.
The goal is to make daily routines easier, improve safety, and give homeowners more control without adding extra work for modern households today.
How Home Automation Systems Work?
Home automation systems work by connecting smart devices through a shared network so they can communicate with each other.
Most systems use Wi-Fi, Bluetooth, or a smart hub to link devices like lights, sensors, cameras, and thermostats.
Once connected, everything is controlled through a mobile app or voice assistant. Each device sends and receives signals based on commands, schedules, or sensor activity.
For example, a motion sensor can trigger lights to turn on, or a thermostat can adjust temperature at set times.
The system follows rules you create, helping devices respond automatically and work together to support daily routines in a simple, reliable way without constant manual control.
Key Components Needed for Home Automation Setup
These core components form the foundation of any smart home system and help ensure devices connect smoothly, respond correctly, and remain easy to manage over time.
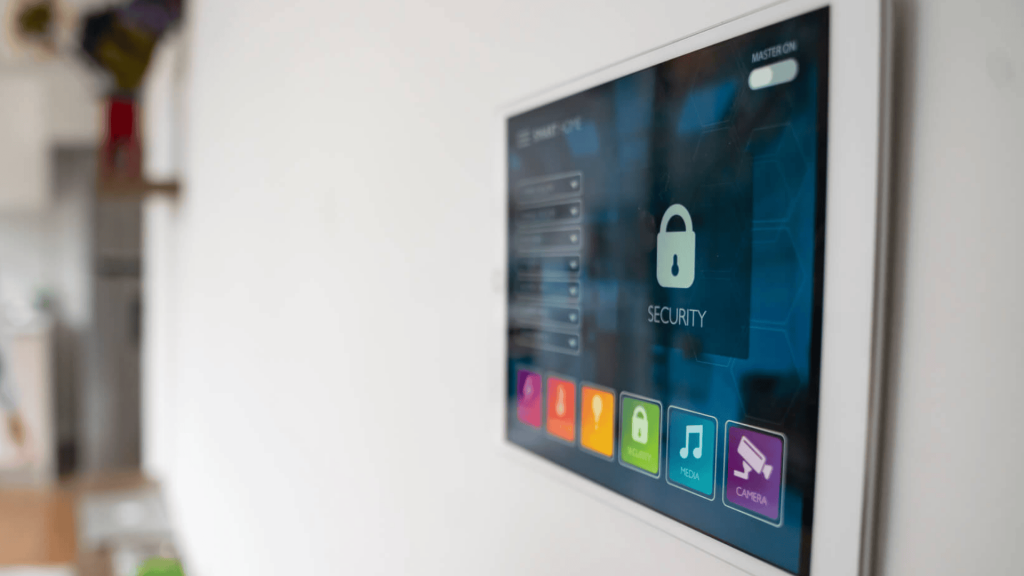
1. Central Hub or Controller
The hub acts as the main control point for all smart devices in your home. It allows different products to communicate and work together from one app.
During home automation installation, choosing a hub that supports multiple devices helps keep the system stable and easy to expand later.
2. Smart Devices
Smart devices include lights, plugs, thermostats, cameras, and locks.
These tools handle the actual tasks you want to control. It is important to check compatibility before buying, as devices must work with your hub or app.
Starting with a few basic devices keeps the setup simple.
3. Communication Technology
Smart systems rely on Wi-Fi, Bluetooth, Zigbee, or Z-Wave to connect devices. Each option affects speed, range, and reliability.
A strong network ensures devices respond quickly and stay connected.
Planning this step carefully makes home automation installation smoother and reduces connection issues later.
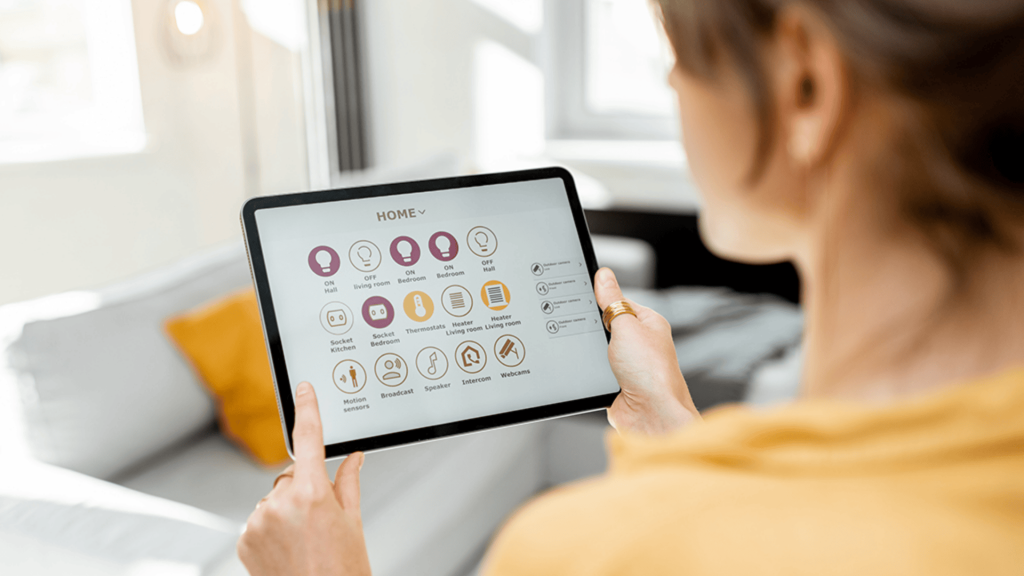
4. Mobile App or Voice Assistant
A mobile app or voice assistant lets you control everything from one place.
You can turn devices on or off, set schedules, and receive alerts.
Most systems offer user-friendly apps that guide setup and daily use, making it easy for beginners to manage their smart home.
DIY Installation Guide for Home Automation System
This section walks through each stage of setting up a smart home system, helping beginners plan, install, and test devices with clarity and confidence from start to finish.
Step 1: Assess Your Home and Goals
Start by deciding what you want your system to do. Some users focus on lighting and comfort, while others care more about security or energy control.
Walk through your home and note areas where smart devices would help most. Check Wi-Fi strength in each room, since connectivity plays a big role.
Setting clear goals early helps avoid buying unnecessary devices and keeps the setup focused, simple, and easier to manage as you move forward.
Step 2: Choose Compatible Devices and Hub
Once goals are clear, select devices that work well together. Check that smart lights, sensors, cameras, or thermostats support the same app or hub.
Compatibility reduces setup issues and keeps everything under one system. If a hub is required, pick one that supports future additions.
This step saves time later and helps avoid connection problems that often happen when mixing unsupported devices from different platforms.
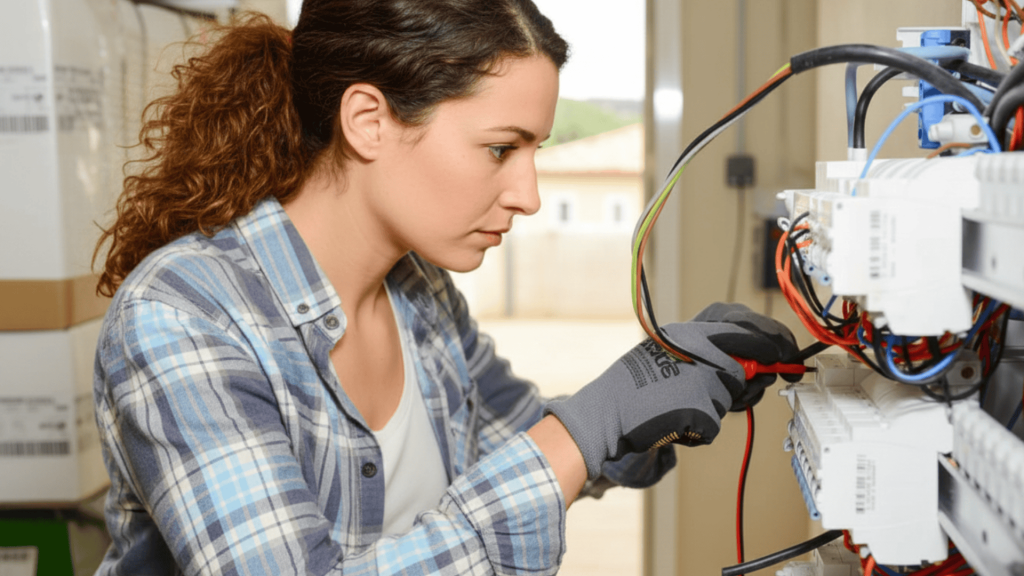
Step 3: Install Devices One by One
Install devices slowly and in small groups. Follow the instructions provided by each manufacturer, especially for placement and power requirements.
Mount sensors and cameras where they can work properly, and plug in smart lights or switches securely.
Add each device to the app as you go, confirming it works before moving on. This step-by-step approach makes troubleshooting easier and prevents confusion during setup.
Step 4: Test, Adjust, and Create Automations
After installation, test every device to confirm it responds correctly. Turn items on and off, check alerts, and adjust placement if needed.
Once everything works, set up schedules or simple automations, such as lights turning off at night or cameras sending alerts during certain hours.
Testing and adjusting at this stage helps the system run smoothly and ensures it fits your daily routine without constant manual changes.
Home Automation Installation Cost for DIY Users
Installation cost for DIY users varies based on device count, brand, and features.
A basic setup with smart plugs, bulbs, and one hub often costs less than a single professional visit.
Mid-range systems add cameras, sensors, and thermostats, raising costs but improving coverage. Premium setups include multiple cameras, locks, and mesh networking for larger homes.
DIY saves labor fees, but plan for extras like mounts, cables, batteries, and possible router upgrades. Start small, test performance, then add devices over time.
This approach spreads costs, reduces mistakes, and helps you buy only what your home actually needs.
Precise budgeting makes upgrades predictable and keeps projects manageable for most homes.
DIY Home Automation Installation vs Professional Setup
This comparison helps readers quickly decide which setup fits their budget, time, and comfort level by showing clear differences between doing it yourself and hiring a professional.
| Factor | DIY Installation | Professional Setup |
|---|---|---|
| Cost | Lower upfront cost | Higher due to labor fees |
| Time | Takes personal time | Faster completion |
| Skill Level | Beginner-friendly with guides | No technical effort needed |
| Control | Full control over setup | Limited user involvement |
| Flexibility | Easy to upgrade over time | Changes may cost extra |
Troubleshooting Common Issues
This section lists quick fixes for common smart home problems so users can solve issues fast without complex steps or technical knowledge
-
Connection Drops: Weak Wi-Fi or interference can disconnect devices. Move devices closer to the router or improve network coverage.
-
Device Not Pairing: Pairing fails when apps or devices need updates. Reset the device and update the app.
-
Delayed Responses: Network overload can slow actions. Reduce connected devices or upgrade the router.
-
Automation Not Running: Incorrect rules stop automations. Review triggers and schedules.
-
App or Firmware Errors: Outdated software causes bugs. Keep apps and firmware updated.
Conclusion
Setting up a smart home on your own is possible with the right planning and clear steps.
When devices are chosen carefully and installed in stages, the system becomes easier to manage and adjust over time.
A DIY approach also helps users understand how everything works, which makes future upgrades simpler and less costly.
Taking time to test devices, fix small issues, and fine-tune settings leads to better long-term results.
Home automation installation does not need to feel complex or stressful when broken into simple actions. Start with basic devices, build confidence, and expand only when needed.
If you have questions, ideas, or tips from your own setup, share them in the comment section below.